| SobekCM Repository Community Help |
Zoomable JP2 Image Server Configuration
Background
To display zoomable images within SobekCM, several tools are utilized by the system. When TIFFs or large JPEGs are loaded into the system, the SobekCM builder will convert these images to JPEG2000 files to enable zooming. Then, the appropriate tile from that JPEG2000 file ( as specified by zoom level and pixels ) can be served, as JPEGs, from the IIPimage server running in parallel to the SobekCM instance within the same application pool. On the client side, the OpenSeaDragon javascript library reassembles the tiles and provides a clean interface for zooming.
Some addition configuration is required on the main web SobekCM web server to enable this functionality.
Configuration
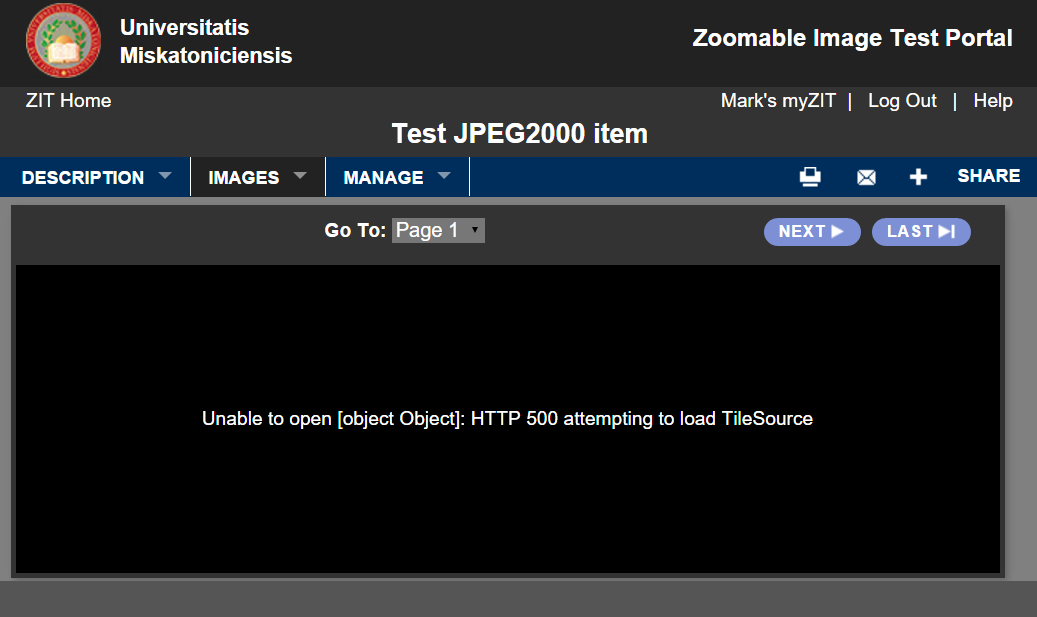
By default, the IIPimage server should be accessible from your iipimage subfolder, like https://sobekrepository.org/iipimage/iipsrv.fcgi. Even without an image specified, it should respond with basic version information. From within the SobekCM system, if the zoomable server is not running, you will get a screen like this:
If your IIPimage server does not appear to be working, follow the three steps below:
1. Ensure CGI is enabled on your web server.
IIPimage uses CGI to render each tile of the zoomed image within your JPEG2000 files. If CGI is not enabled, you may get an error message like the one below, at least when you try to hit the URL from within your web server.

Enabling CGI is somewhat platform dependent, but generally you will be adding the CGI role to your server through the ability to add roles and features. This role can generally be found under Web Server (IIS) >> Web Server >> Application Development.
Instructions for this can be found at the top of this page: https://www.iis.net/configreference/system.webserver/fastcgi#003
(Note: you do not need to follow all this page, just the portion at the top to install the role.)
2. Ensure the IIPimage web.config file points to the IIPimage executable.
During SobekCM installation, the IIPimage executable should have been installed on your web server. This is likely under a C:\Program Files\SobekCM\IIPimage folder, but it may be elsewhere. You can find this on your machine by looking for iipsrv.exe. If this does not exist, you may need to reinstall the SobekCM web application.
Once you locate this executable, navigate to the iipimage subfolder under the main web application in your IIS. ( This may be at c:\inetsrv\wwwroot\iipimage, or c:\inetsrv\wwwroot\iipimage\SobekCM\, or somewhere else on your machine. ) You will find a web.config file in that subfolder. This web.config file should be quite small and look something like the snippet below, although the actual web.config is likely formatted differently:
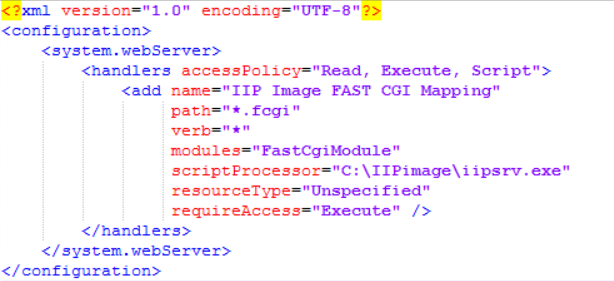
Ensure that the scriptProcessor tag includes the full link to the iipsrv.exe file where it exists in your server.
3. Setup the FastCGI configuration under IIS.
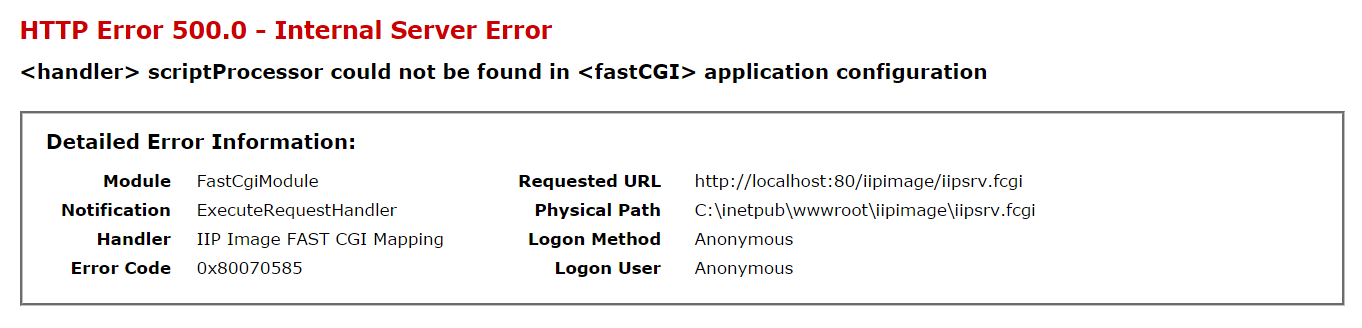
The scriptProcessor tag in the web.config may point to the right place, but if the CGI application is not setup in IIS, you will still get an error message, which may be similar to the message below:
To correct this problem, launch the IIS manager for your web server and follow the instrutions below:
- Click on the server name in the left panel, since this is configured at the top, server, level
- Click FastCGI Settings in the middle screen of the IIS configuration
- Click Add Application to the right, if you don't see an entry for iipsrv.exe
- Add the full path to the iipsrv.exe executable into the Full Path prompted textbox
- Leave the arguments empty
- Optionally, you can set the Max Instances value to zero if you like
- Click OK to save it
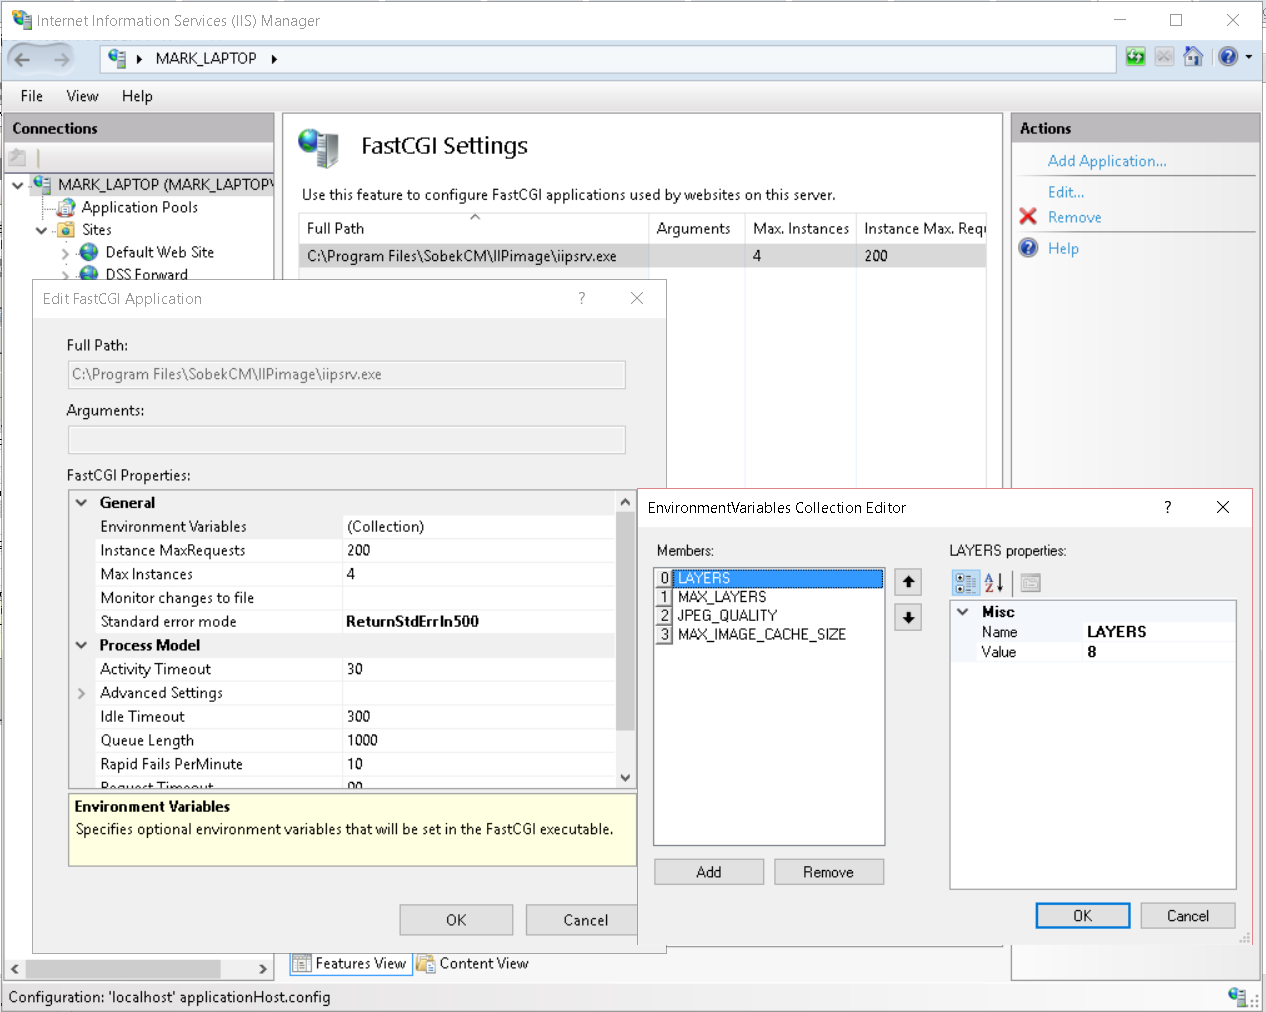
- To set the environmental variable, select the application from the list again, select Collection under Envionmental Variables, and add each of the following:
- LAYERS = 8
- MAX_LAYERS = -1
- JPEG_QUALITY = 100
- MAX_IMAGE_CACHE_SIZE = 1024
Once this is fully configured, it will look something like this in IIS manager:
This should complete your configuration.
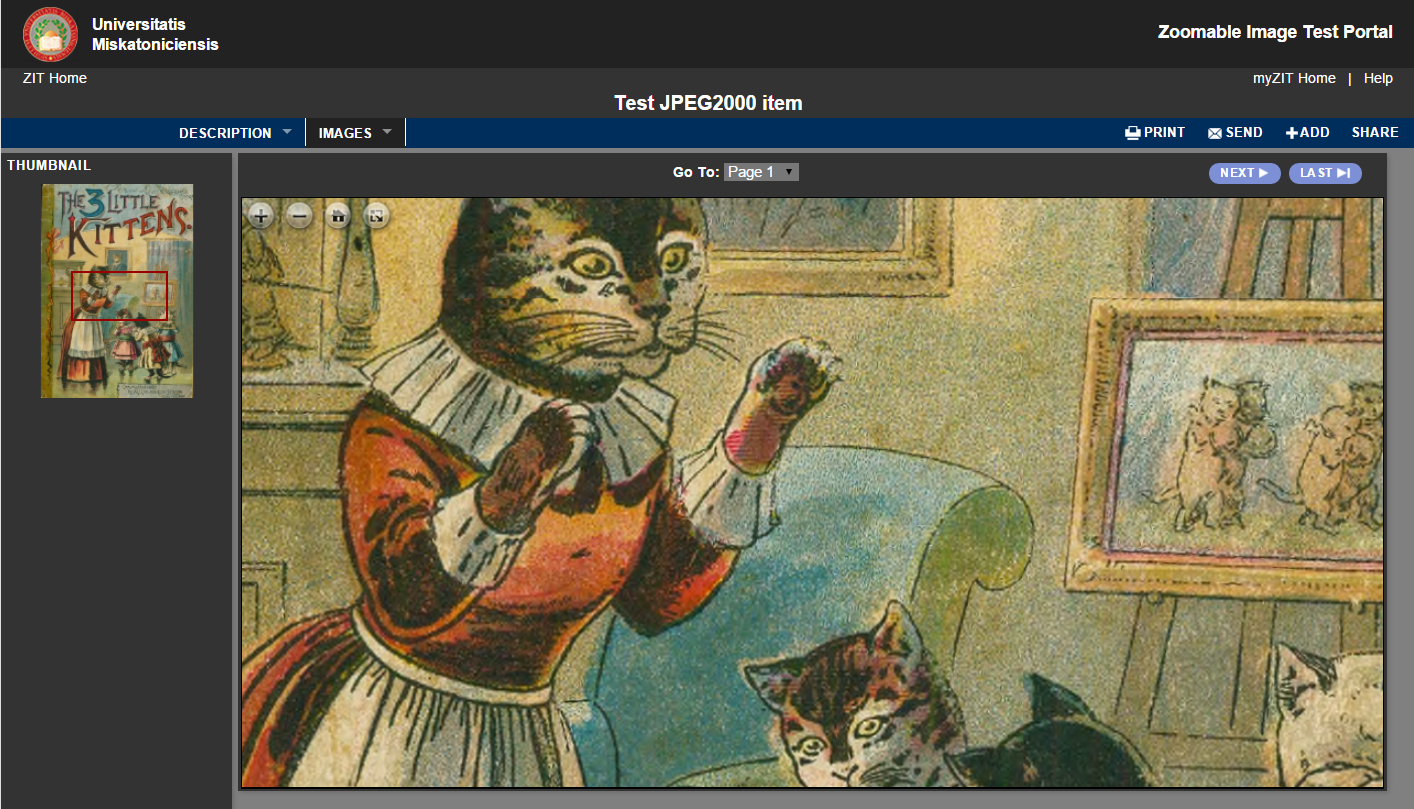
You may need to restart your IIS service from the IIS manager screen, but this should now be fully functioning. When fully functioning, the zoomable image will now look something like: